

Note: Only available on the Atarim Starter, Pro, and Business Plans.
Tracking time is essential for every agency looking to create better estimates, properly manage resources, and ensure you’re paid the right amount by clients.
If you can fully leverage our time-tracking feature, you might never run out of resources!
In this post, you’ll discover everything about time tracking, estimations, and how to use this feature to the fullest, so you can make the right decisions in your agency.
Jump ahead to:
- How to properly manage tracked time
- One-click export for creating reports for clients
Starting a Timer
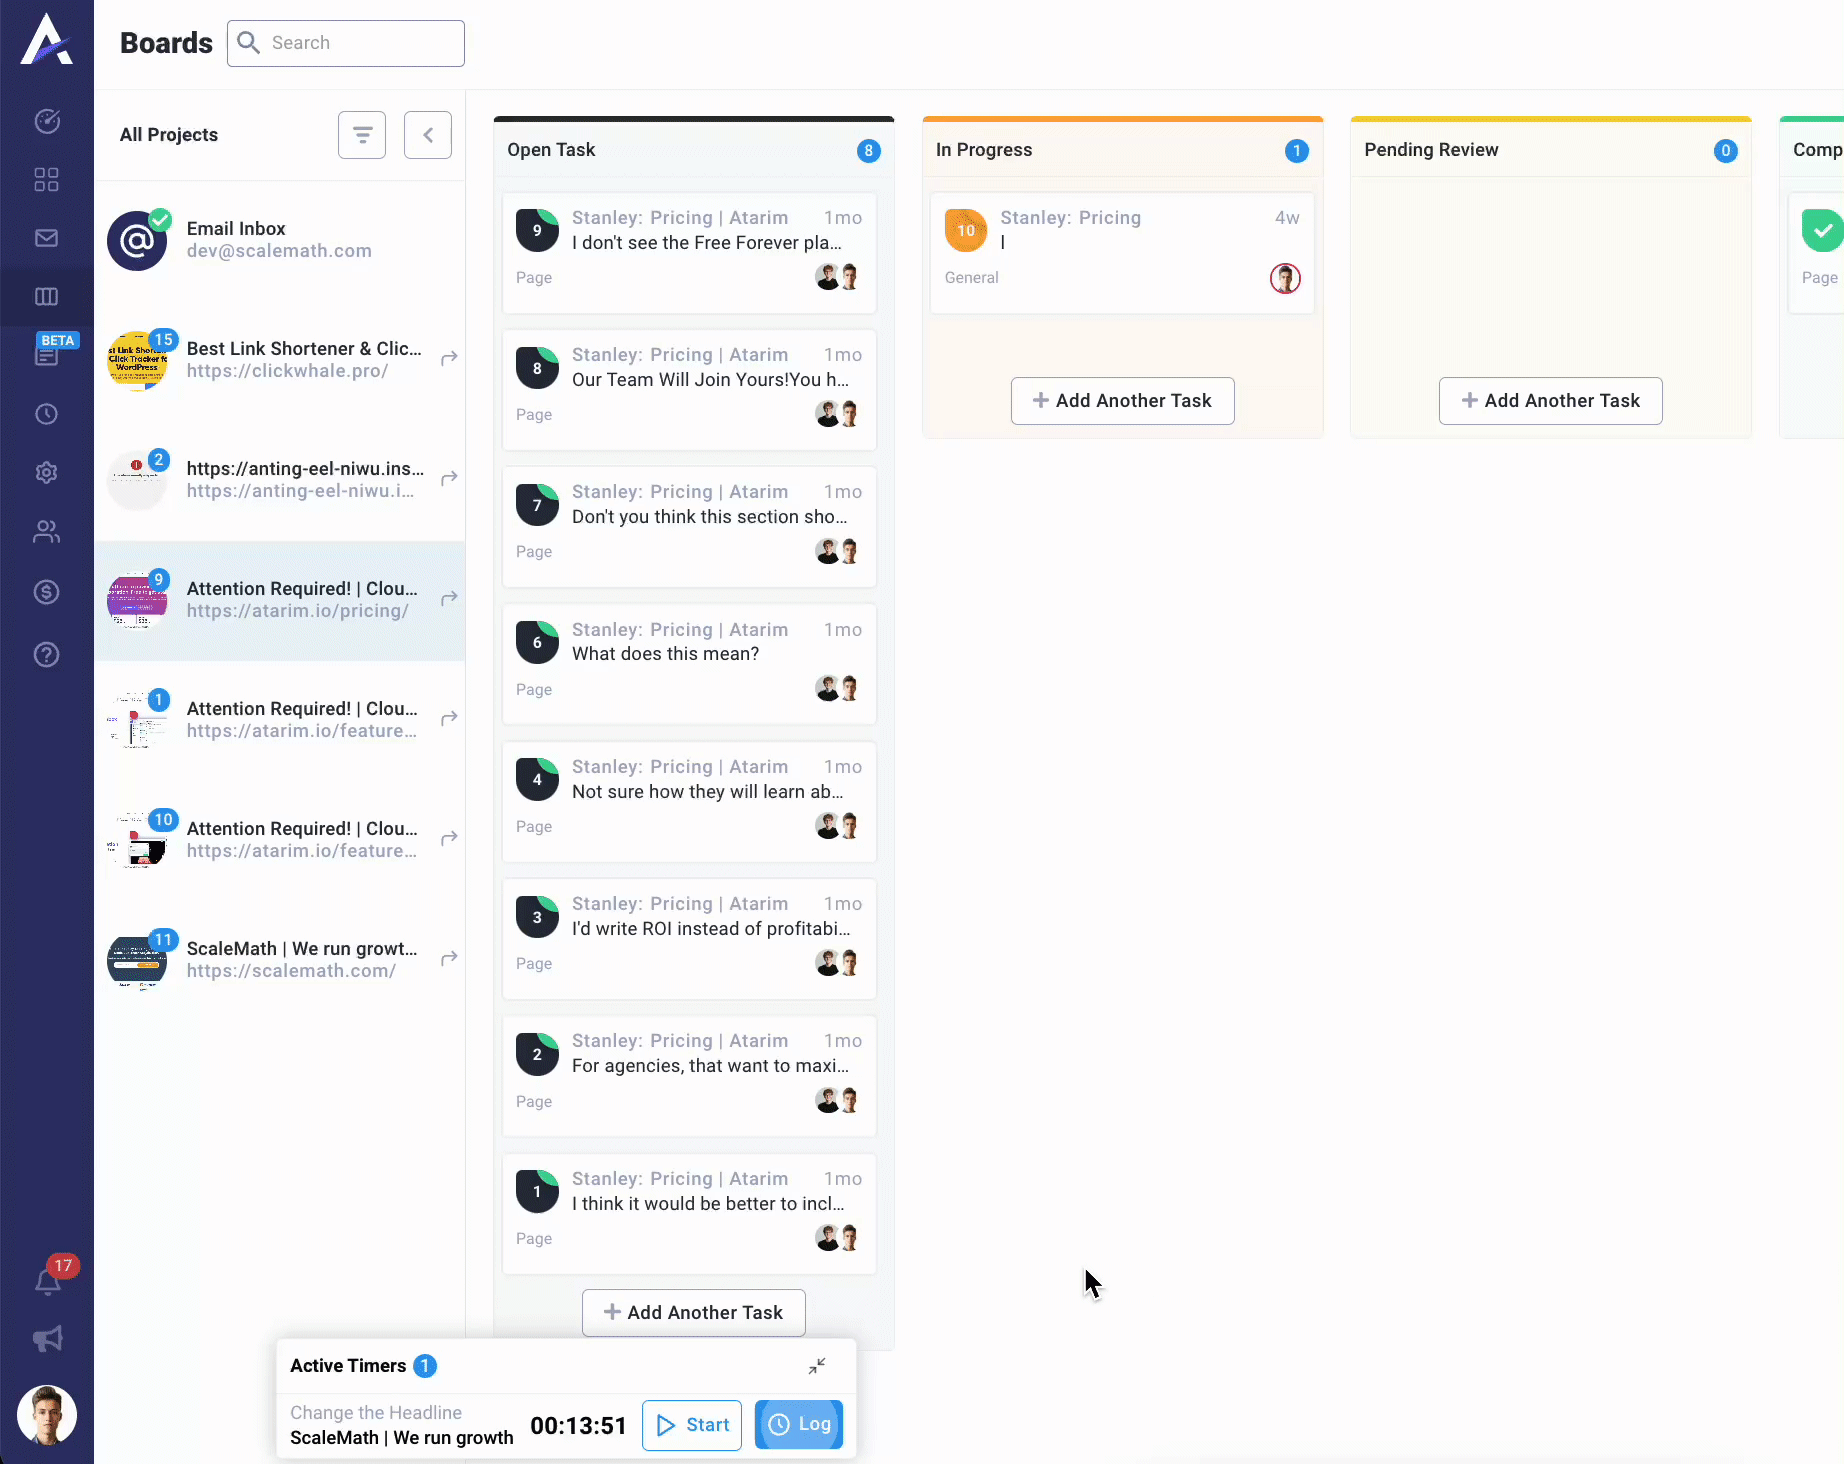
Head over to the Boards and click on the task you want to start a timer on.
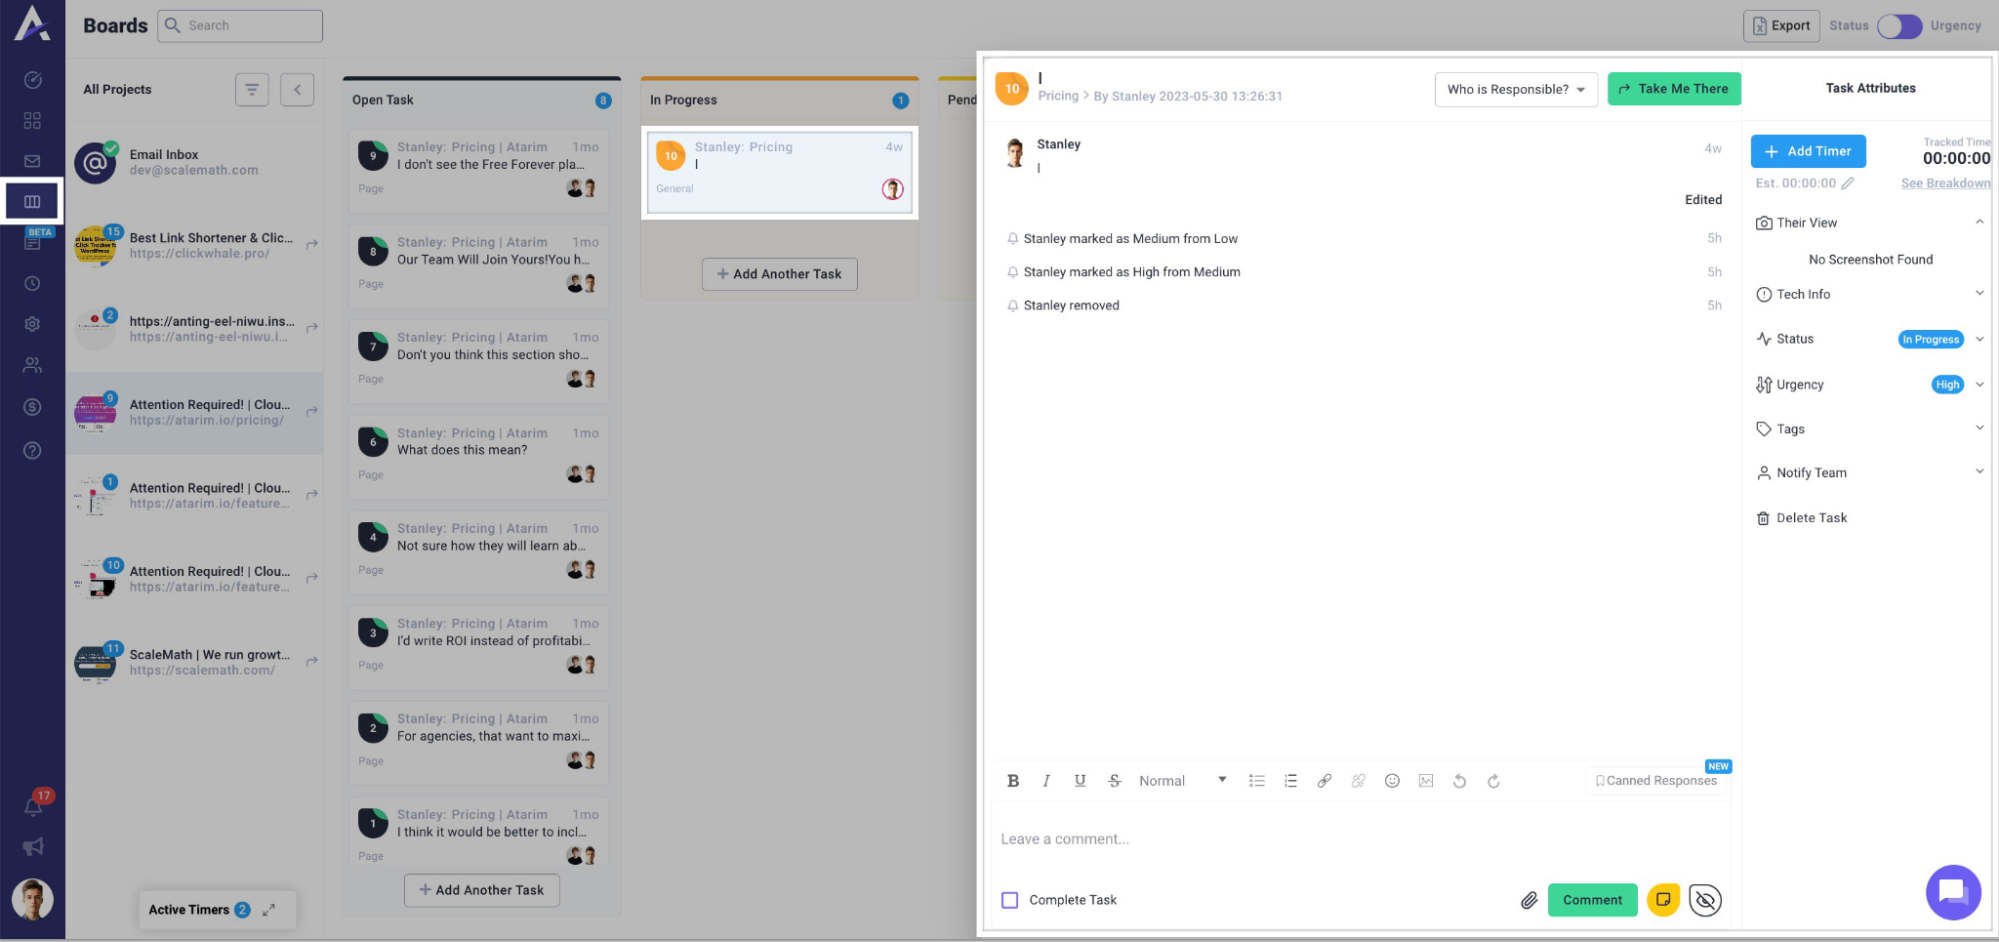
Click on the “Add Timer” in the attributes of the task, and a timer will be started automatically.

Adding a timer will add this task to your “Active Timers” section in the bottom left of the screen. This only becomes visible if you have one or more tasks added.
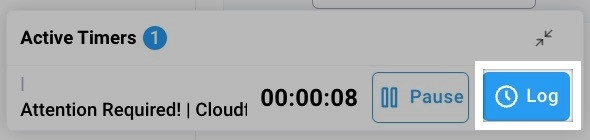
The Timer Widget
You can see all your active timers inside the Time Widget in the bottom left corner.
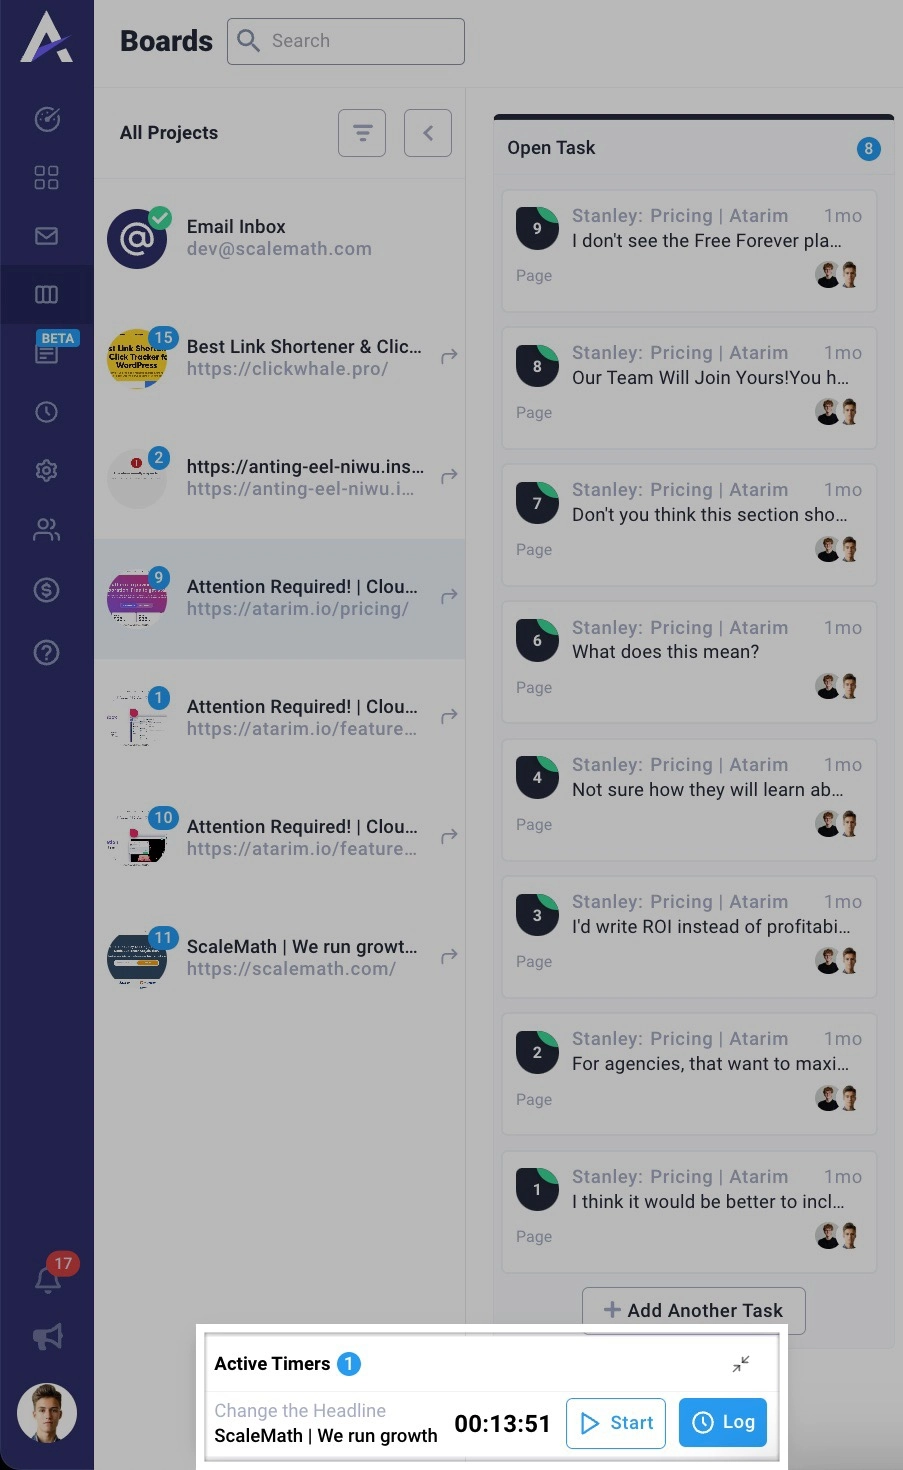
For each of your timers, you will see:
- The title of the task
- The tracked time
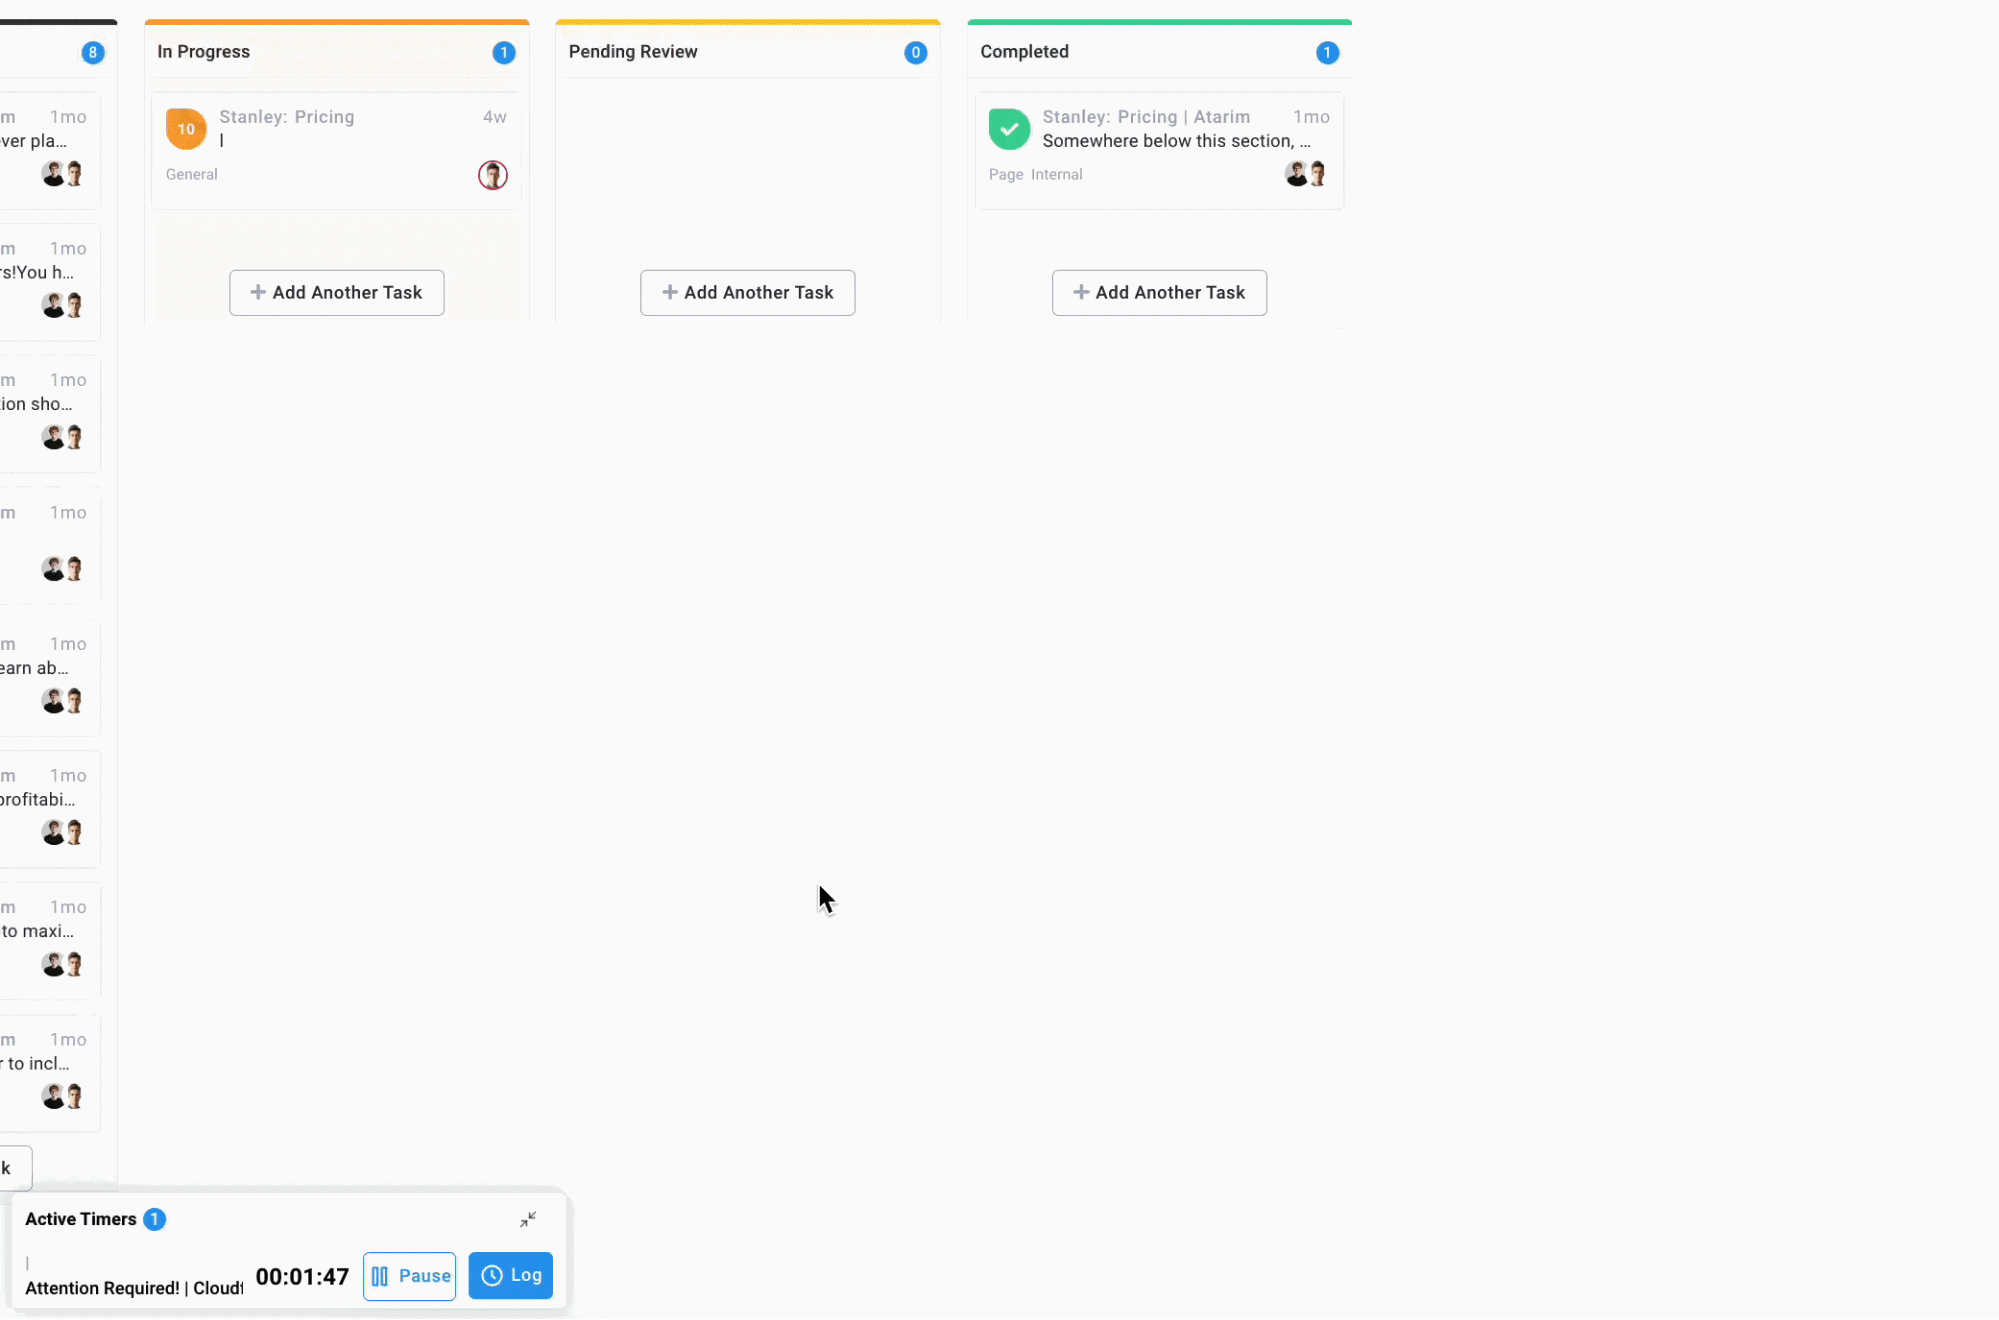
You will also have the option to pause the timer, or start it.
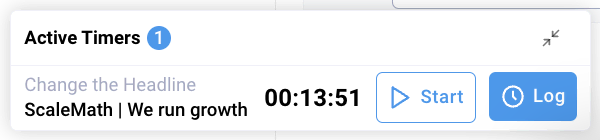
Also, you can minimize the widget by clicking on the icon in the top right, just in case this gets in the way of any work you’re trying to do.
You can even click and drag the timer to a different location at the bottom of the screen.
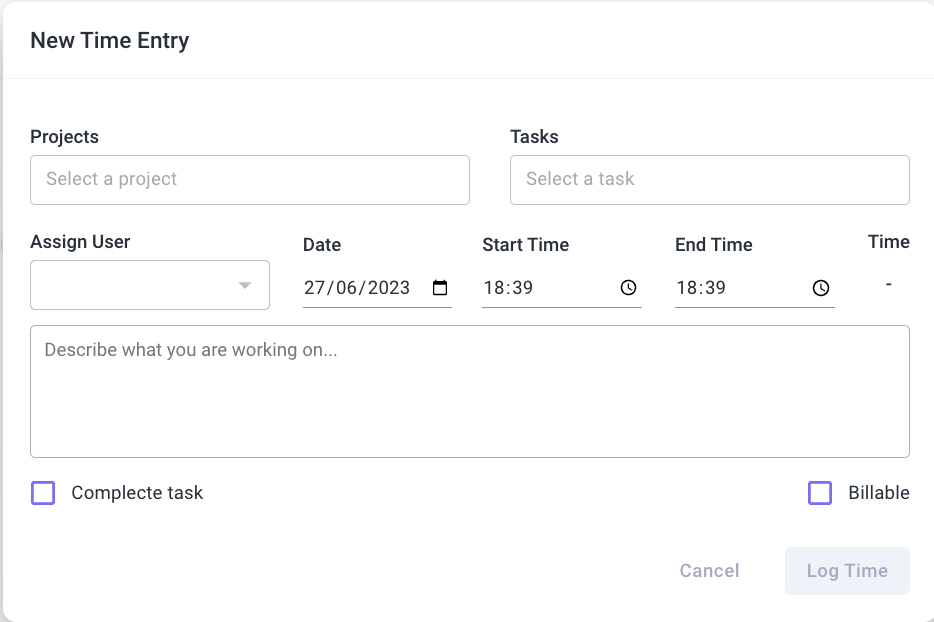
Logging Time
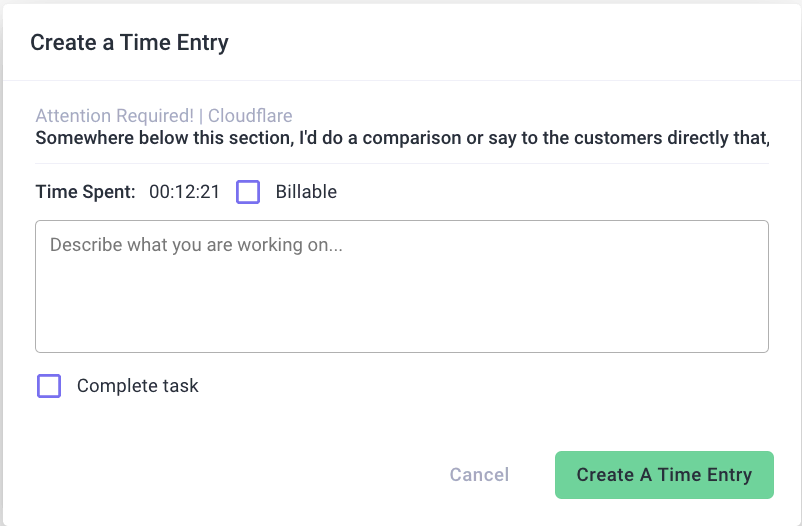
After you’re done with the task, it’s time to log your time.
You can click on the Log button, which will make a pop-up appear for more information, such as the website this task is on, the task title, and the total time spent on the task.
You can also mark the task as “Billable” and describe what you worked on.
This can act as a brief or summary of your work, which is especially useful if you’re coming back to past tasks after a long time.
You can also mark the task as completed, automatically notifying your client (and everyone else involved) that it’s done.
Just click on “Create a Time Entry,” and this time will be logged for the task.
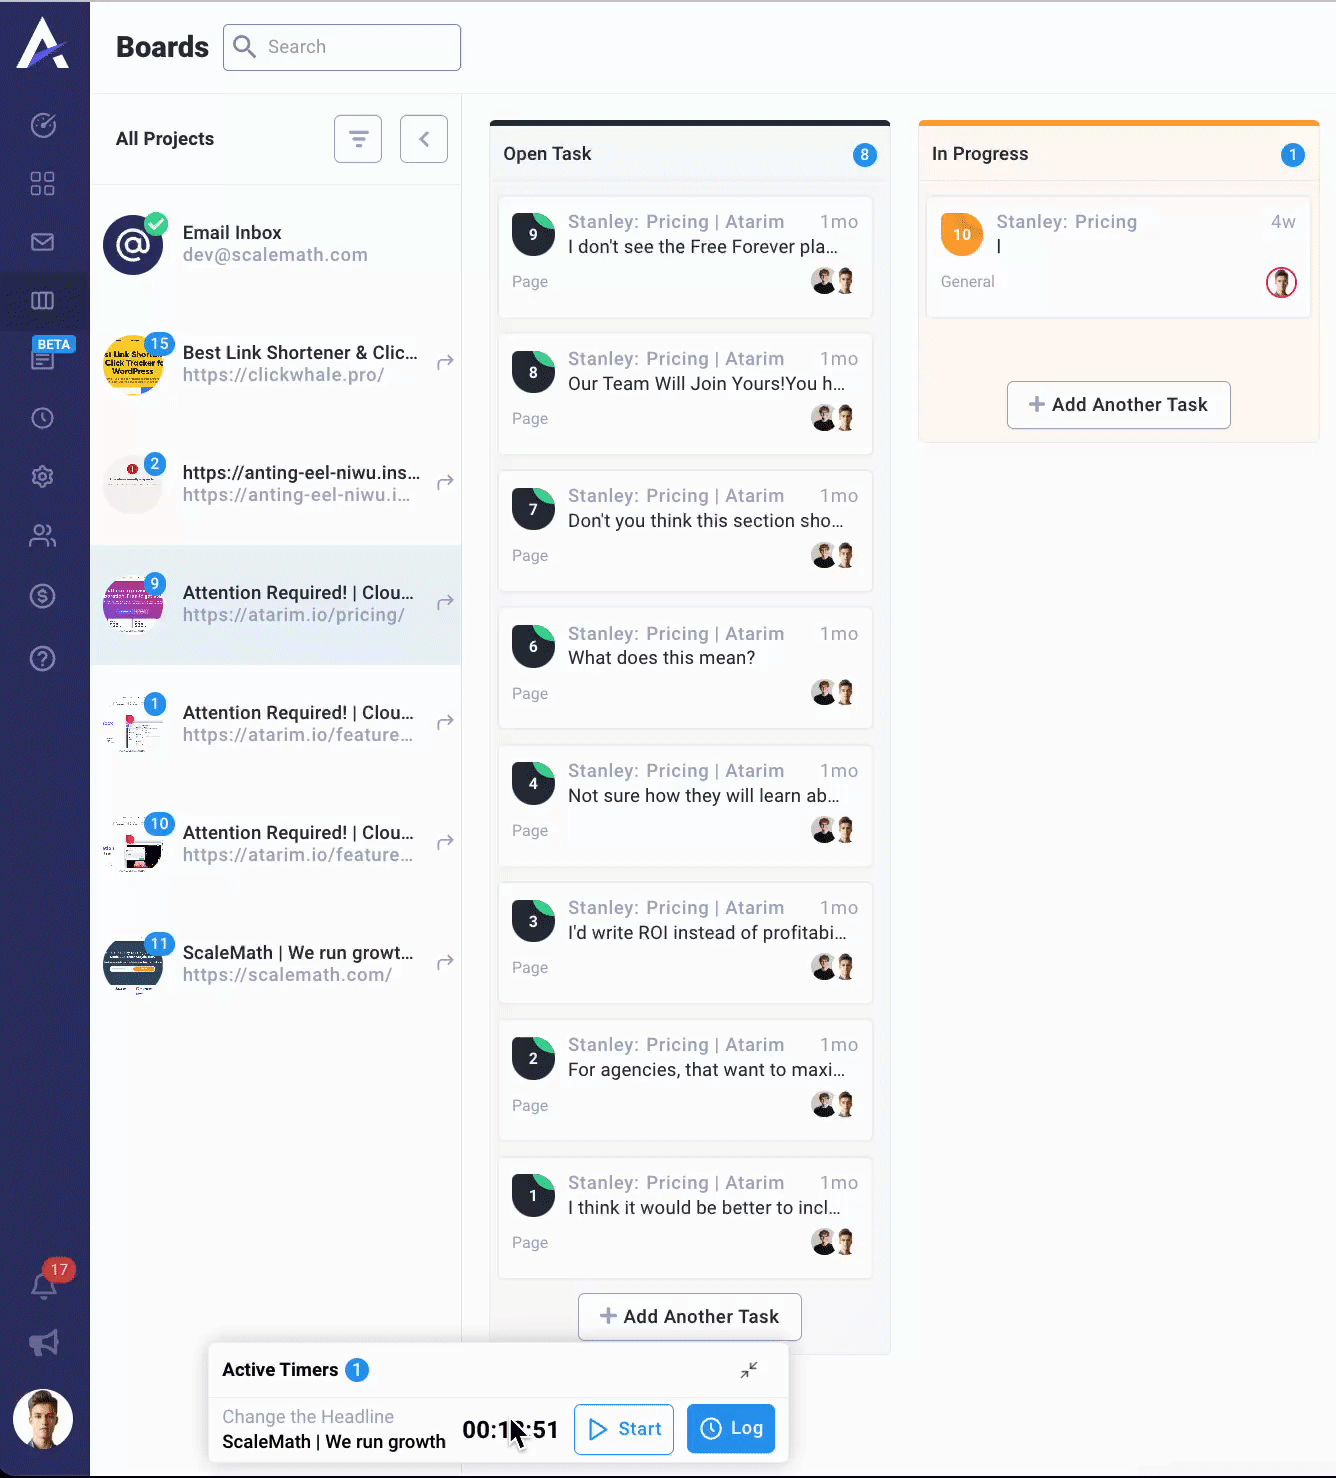
Managing Multiple Timers
You can add multiple tasks to the active timers by clicking on another task and hitting the “Add Timer” button.
This will add the task to your Timer widget at the bottom of the screen.
It can be useful when you’re switching between tasks or multitasking. However, you can only have one timer running at any given time (which makes sense – you can’t actually be working for two different clients at the same time and bill them both for that same time period!)
Time Entries Page
To view all time entries across your Dashboard, go to your Time Entries page.

Here, you’ll see all time entries across your entire Dashboard, filtered by day. You can see a bunch of details, including:
- Who tracked the time
- The start and end time
- The project and task name
- The description of what was done
…and so much more.
Editing Time Entries
If a time entry needs to be changed, click on the pencil icon to update it.

You can change who tracked the time, the date, the start and end time, the description, whether it’s billable, or even delete the time entry.
You can also manually add the time entry by hitting the Add Entry button at the top.

From there, you’ll get a pop-up where you can fill in all of the important details about the time entry you’re adding.
Filtering Time Entries
You can filter time entries in the filter menu on the right, based on a range of different properties, including:
- The date
- Specific projects
- Billable / non-billable
- The user who tracked time
You can select multiple filters at the same time, to help you be as specific as you’d like.
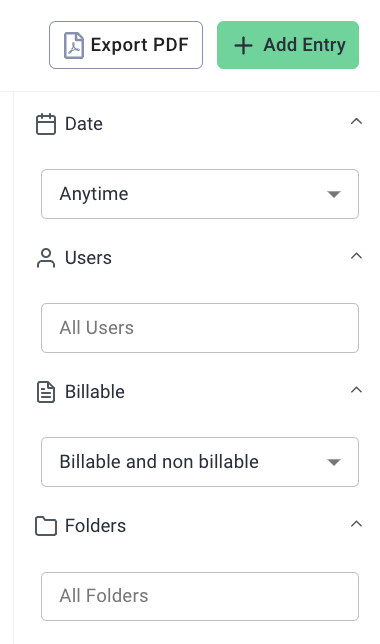
One Click Export
Export time entries into a PDF by clicking the Export button.

This export includes all time entries that are currently on the page. This can be super useful for creating reports you can send to your clients.
Note: If you have no filters currently set, it will export every time entry across your Dashboard.
Getting Support From Us
Tracking time is vital for any digital agency to be successful. Atarim enables you to track your time accurately and provide one-click reports to your clients to show what they are paying you for.
Leveraging this feature will allow you to create better estimates and never run out of resources! If you have any questions or need anything in general, you can always reach us at support@atarim.io where we are always happy to help!
If you want to tighten up your time, make sure you’re billing clients accurately, and ensuring your agency is using resources in the best way possible, try Atarim for free today.
- Integrated into the leading visual collaboration platform trusted by 13,000+ agencies (web dev, design, and beyond) worldwide.
- Supporting project delivery for 1,200,000+ of their clients and stakeholders.
- Deliver projects in weeks instead of months.
