

Note: Only available on the Atarim Starter, Pro, and Business Plans.
With this integration, you create an all-in-one solution for your hosting and visual collaboration!
Creating a new staging enviroment straight from your Atarim Dashboard, automatically add the website via URL or automatically install the plugin and manage the hosting settings of the site from Rocket.net directly!
In this article, we’ll take you through how to get started and what you can do with this integration.
Connecting Your Rocket.net Account
First, you need to head to your settings screen inside the Atarim Dashboard.

Inside the settings, click on the integrations settings tab.

Scroll down and enable the Rocket Integration.

To start connecting your account, click on connect.

Then you’ll need to enter your email and password for your Rocket.net account and click on connect.

Once connected, you’ll see this message.

Creating A Staging Enviroment
To create a new staging enviroment, go to the Websites screen inside your Dashboard.

Now that your Rocket.net account is connected, you’ll see a new button on this screen.
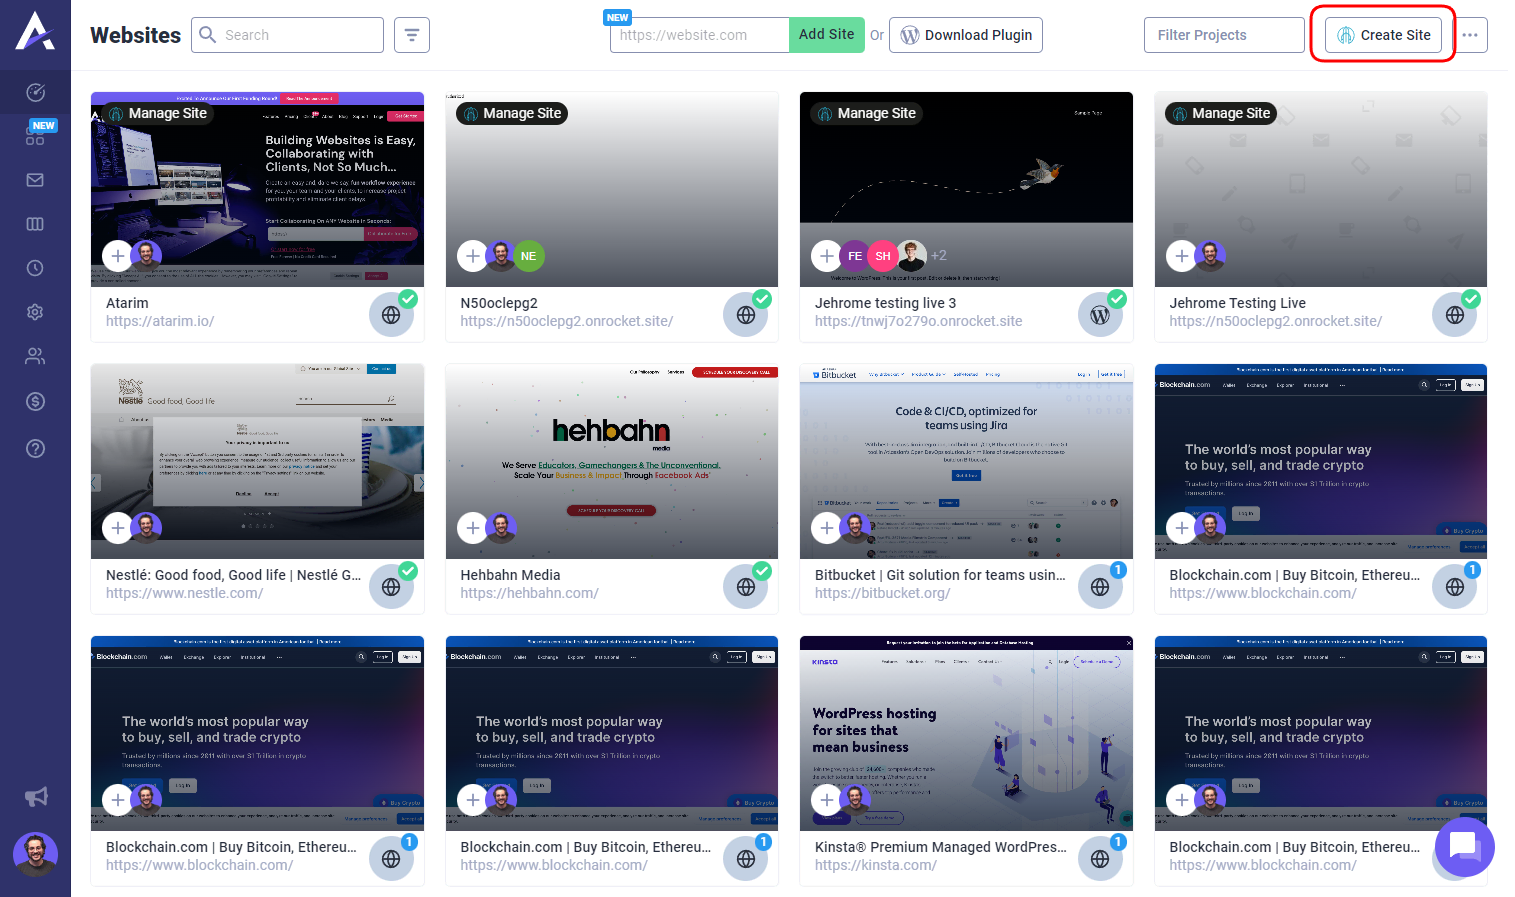
Clicking on “Create Site” will open a pop-up to create a staging enviroment on Rocket.net.
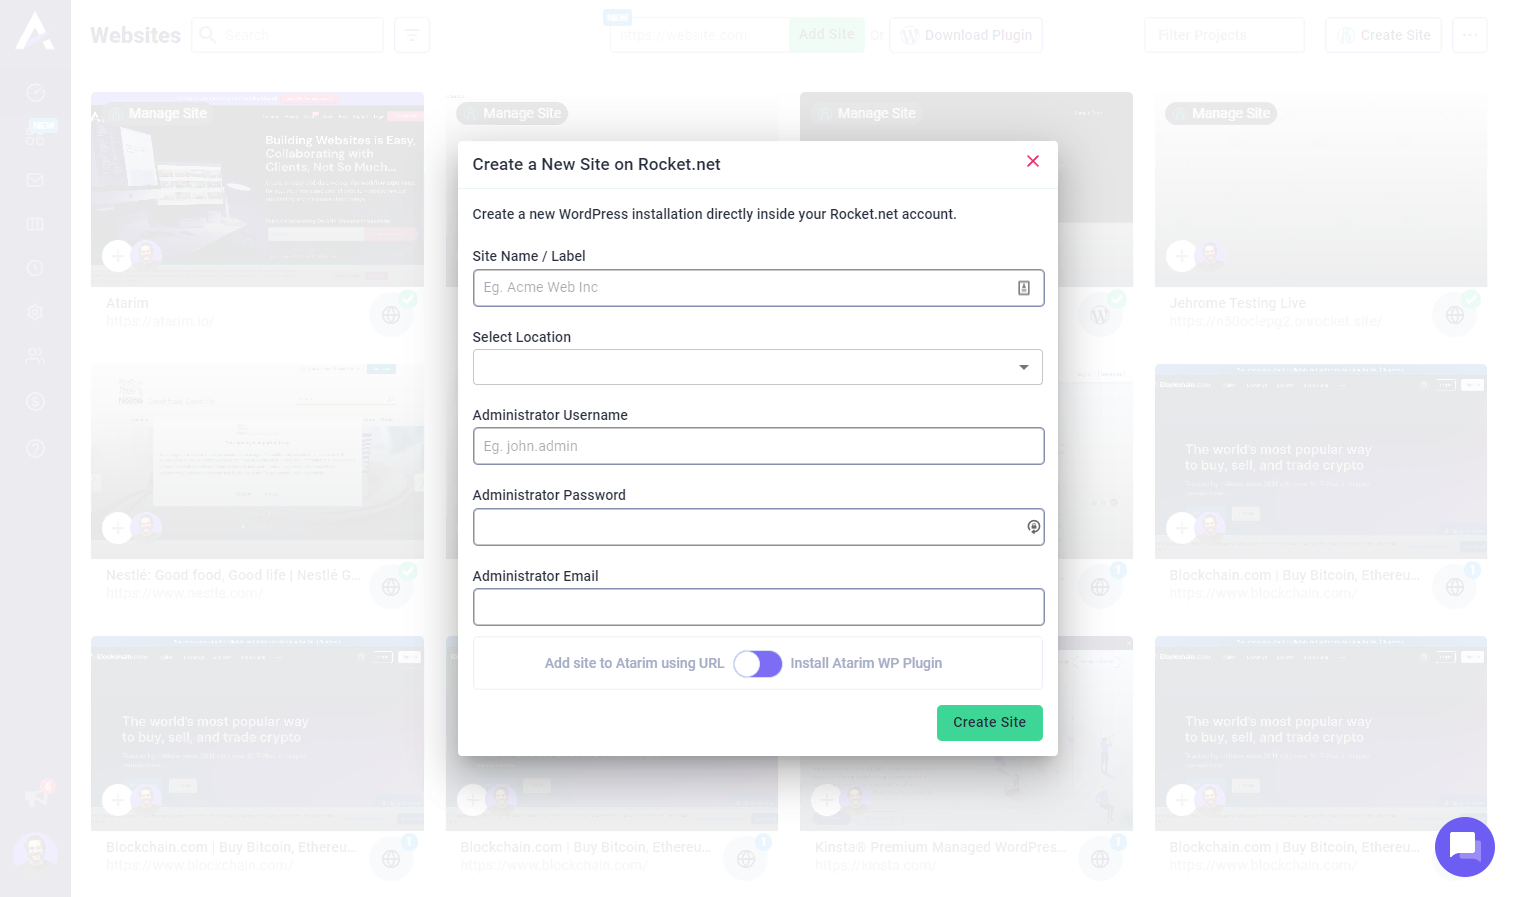
First you need to name it, this will be the name of it inside your Dashboard and the label inside your Rocket.net Dashboard.

You need to choose a location of where you want this staging enviroment to be hosted.

Next we need to set the username, password and email of the account admin of the WordPress website (the username and password are automatically filled with your Dashboard credentials)

And finally, you have two choices when it comes to adding this website to your Atarim Dashboard.

Adding New Staging Sites Via URL
Let’s create a site and choose the first option.

You’ll see a confirmation pop-up once the website has been created.
NOTE: Staging enviroments can take a second to be created, if you click a button and it seems that something is wrong, please try again after waiting for a second

Clicking on “Manage Site” will bring up the Rocket.net settings for this new staging environment.

Clicking on “Collaborate” will take you to the visual collaboration for this new staging enviroment (learn more about collaborating via URL here)

Adding New Staging Site Via Plugin
To automatically install the Atarim Plugin, you can toggle this on the site creation pop-up here.

After creating the site, you’ll see a confirmation pop-up that it was successful.
NOTE: Please keep in mind that it can take a second for this site to be created on Rocket.net’s side.

To add this new website to your Agency Dashboard, you need to activate the plugin.

Clicking on “Activate Plugin” will take you to the WordPress Admin login for this new site, type in the account you setup on the create site pop-up. You’ll then be taken to the first step of the Atarim Activation Wizard.

By clicking on “I already have an account (Login)”, we’ll automatically log you in from your Agency Dashboard and start the activiation process.

We’ll make sure it’s you, and then click Activate on this screen.

Which will then bring you to the next step on the installation wizard.

Find out more about the installation wizard here >>
After the install has been completed, you’ll see the new website on your Agency Dashboard.

Managing Rocket.net Hosting Settings On Websites
By having a website on both Rocket.net and your Atarim Agency Dashboard, this will give you access to the hosting settings inside your Websites screen.
NOTE: This is based off of matching URL’s that are on both platforms

By clicking Manage Site, the Rocket.net settings for this website will appear in a pop-up.

This integration empowers your agency by creating an all-in-one solution for your visual collaborating and hosting. It doesn’t matter which Dashboard you are in, you have full control over everything you need!
Getting Support From Us
If you have any questions or need anything in general, you can always reach us on support@atarim.io where we are always happy to help!
