

Building & launching a website isn’t easy. Just the sheer number of seemingly small details that can easily be overlooked is unimaginable – consistent typography, spelling, layout, call-to-actions, 404 error pages, content, SSL certificates – the list goes on…
This article will guide you through the things you need to check prior to launching your site (both before and after the site is built), as well as in the post-launch period, to ensure that everything is working smoothly and your visitors have a great user experience.
What To Check Before You Start Creating Your Website
Before you start designing your website or hire a web designer, there are a few things to consider, especially if you already have a website and want to redesign it.
1. Analyze Your Current Website
If you are doing a website redesign, you may want to analyze your current site and identify its shortcomings. Ask yourself: what is it that you haven’t achieved with the present website?
Whether you find that your site looks a bit old-fashioned, doesn’t perform well in terms of ease of use, or its SEO structure isn’t very effective – make sure to clearly identify all issues with the current website. By doing so, you’ll get a better understanding of what kind of goals you wish to set for your new website.
2. Crawl Your Present Site to Collect Data
Documenting the structure of your site is a necessary step in any new website development plan. Whether you have a small or a large website, it can be very time consuming and labor-intensive to check every page manually.
You may want to consider using a website crawling tool which will help you get a better view of your site’s existing pages, assets, and overall structure. This will significantly reduce the risk of ending up with duplicate pages or missing a redirect when making changes to your site structure.
3. Choose Your CMS Wisely (Choose WordPress)
If this is the first website you’re launching, you need to choose the right content management system, because this will simplify the process of launching & also maintaining your website.
Thankfully, this is an easy decision – choose WordPress.
Not only is it the most popular content management system, but it’s also the most versatile, flexible, and trusted by brands including CNN, TechCrunch, Bloomberg, and more. At WP FeedBack, we’d even go as far as to say that we see no other content management system as a viable choice…
4. Develop A Solid SEO Strategy
In order to improve both the quality and quantity of your website traffic from search engines, you need to devise a solid SEO strategy. This basically means that your website should be optimized so that it becomes more visible in search engines and gets more “organic traffic”, i.e. traffic that you aren’t paying to drive to your site…
A solid SEO strategy involves keyword research, creating a content strategy around those keywords, and tackling the website architecture, among other things. If you already have a website and decided to create a new one, devising an SEO strategy would involve figuring out how current pages can be modified and mapping out the unnecessary pages.
What to Check Once the Site is Built
Now that you’ve built your (new) website, you’ll want to check that everything is in place and working well before going live. Let’s run through a couple of things you should keep in mind in this pre-launch phase.
5. Ensure Your Content Is Error-Free
One of the most important things you should do before the launch is review all content on your site, including page content and premium content (e-books, case studies, etc.).
There’s nothing worse than having a typo on a key page. Proofreading every piece of text is a must if you don’t want to end up looking unprofessional. All spelling, grammar, and factual errors should be eliminated.
There are online tools that can come in handy in this process, such as Grammarly or Whitesmoke.
Don’t forget to also remove all generic content, such as lorem ipsums.
Another way I check this is using a convenient Chrome Bookmarklet that I can simply click when I’m on a site that I’m testing. To create a bookmarklet, visit the Google Chrome Bookmarks manager, right-click and then click Add new bookmark.

Then when prompted with the following name, enter a name that you’ll remember this bookmarklet by in the future, such as “Queries“.
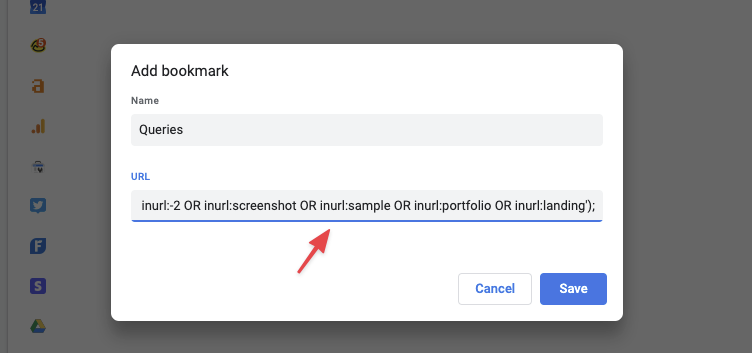
And in the URL field, paste in the following code:
javascript:window.open('https://www.google.com/search?q=site%3A%27+window.location.hostname +%27 inurl:demo OR inurl:/home/ OR inurl:test OR inurl:-2 OR inurl:screenshot OR inurl:sample OR inurl:portfolio OR inurl:landing');If I am to use this bookmarklet for this very site, this is what you’d get. This basically quick check to make sure you don’t have any old landing pages or demo pages that are being indexed by Google/are publicly accessible.
In our case, the demo pages that do appear in search are intentional because this is the demo of our software available at demo.wpfeedback.co which we want to have publicly available. ?

6. Check Your Site’s Images, Audio, and Video Files
Look for issues with audio or video files featured on your website. All audio and video files should work correctly.
Images should be optimized and labeled in an adequate manner. Make sure that alt tags are added to all images. Alt text helps people with visual impairment to be able to understand the image, and it is also helpful in optimizing your site for search.
Sometimes, if they don’t have the correct image, website designers resort to using placeholder images when creating a page. Make sure to replace all such images with the correct images and designs.
7. Be Consistent in Content and Title Formatting on All Pages
Consistency will add to your site’s professional appearance. Therefore, it’s wise to maintain consistency for the formats of all titles and heading. You can use sites like Woorkup’s Capitalize & Convert Case tool to help you format your titles in the same way.
8. Check Content Readability

Content should be easy to read.
Sounds fairly simple, right?
Well, let’s actually break down what defines content readability.
For content to be readable, sentences should be short.
- You should use bullet points.
There should be a lot of white, empty space.
And the font should be appropriate and consistent.
Wherever possible, separate your content into different portions of text.
Subheadings enhance the readability of your site’s content, and also improve your SEO, so make sure to use them.
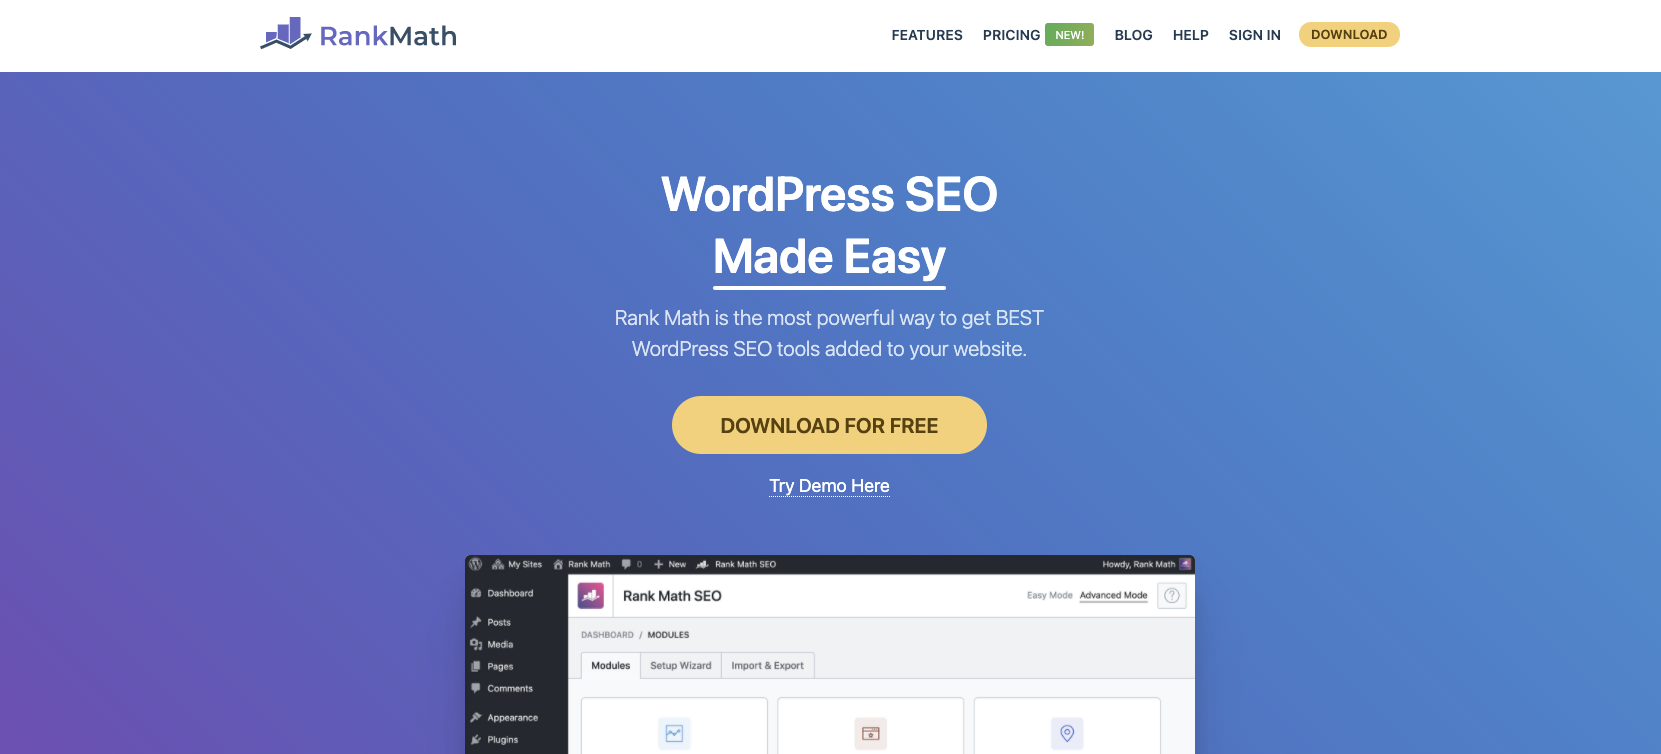
To make this easier for us we use our WordPress SEO plugin, Rank Math to help our team. For more information about Rank Math, click here.
9. Create a Contact Page
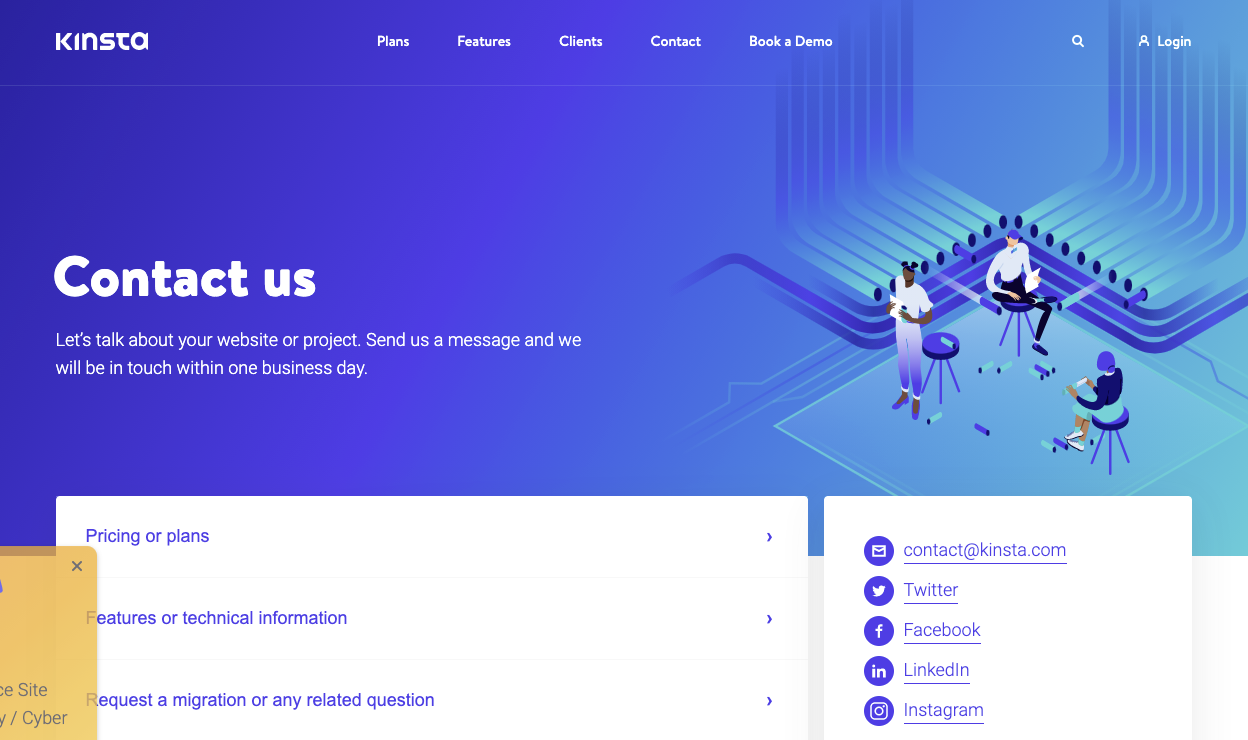
Approximately 50% of website visitors would leave a website if it lacks contact information. Bearing this in mind, if you want your website to appear professional, credible, and attract visitors, it’s crucial to have a contact page.
You may check out some widespread contact form builders, such as Contact Form 7
or WordPress Form Builder for further assistance on how to build one.
10. Ensure a Responsive Design for Your Website
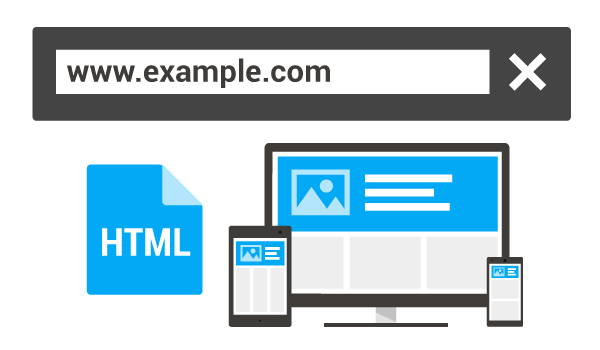
If a website has a responsive design, it simply means that it’s functional and looks good on all devices. For example, if you consider that over 50% of the internet traffic is from mobile devices, ensuring that your website is mobile-friendly is an absolute must.
In practice, this would imply that the content should be identical on both the mobile and desktop version, the text should be easy to read on the mobile version as well, and navigation should be simple.
There are several tools that you can use to check your website’s design responsiveness, such as Bootstrap, Google Mobile-Friendly Test, Responsinator, and more.
11. Check Browser Compatibility
If your website looks good on the browser you’re using, that doesn’t mean it won’t look different if accessed from another browser. This is why you need to review whether your site is compatible with diverse browsers, especially the most popular ones such as Chrome, Firefox, and Safari.
You can test browser compatibility on your own, simply by accessing your website through different browsers to see if everything displays correctly.
Alternatively, there are many tools that can help you do this, like BrowserShots, for example, an open-source online app that uses several computers at different locations to access your site in their browser. The app then takes screenshots of your site from each computer and uploads them in a central server so you can review them.
12. Review Plugin Compatibility
Since there is a high volume of third-party plugins you might be using to develop your site, sometimes it can happen that they don’t work well with one another, resulting in compatibility issues. Sometimes it is a case of conflicting code or functionality. In other cases, it can be a matter of having two plugins that attempt to change a given feature but are doing this in two different ways.
Whatever the cause, compatibility issues can result in a certain feature not working properly or at all. In some cases, such issues can even break your site.
Moreover, compatibility issues don’t only occur between plugins. They can also happen between a plugin you’re using and the theme being used, or even between a plugin and the WordPress version you’re using.
Fortunately, there are various free plugin options that can easily run compatibility testing before you go live. One example of such a plugin for WordPress is PHP Compatibility Checker.
13. Create A 404 Page

404 error pages may not be likely on a newly created website. Yet, if a visitor makes a typo or if there is a wrong external link to your website, they can still occur. And redirecting 404 pages to your homepage isn’t advised, because it just doesn’t make sense from a user perspective that they just end up somewhere where they weren’t trying to go…
That’s why it’s best to be on the safe side and create a custom 404 page. Having this page will reduce the risk of losing visitors and improve user experience overall. Moreover, a successful 404 page doesn’t simply retain the visitors on your site, it also makes them stick around and check out what else is going on on your website.
14. Inspect URLs
Building a site usually involves moving things around. This can easily lead to broken links, both internal and external, which is why it’s advisable to double check whether the URLs are correct on the live version.
A number of tools can be helpful when it comes to inspecting broken links, such as Broken Link Checker or Xenu’s Link Sleuth.
15. Check The Conversion Paths
This entails ensuring that the landing and thank you pages are working properly or that the necessary forms are present. For instance, you could test out the web forms yourself to see whether messages are successfully submitted/sent.
Checking the conversion paths also includes ensuring that CTA (call-to-action) buttons are present in the right places. Any element on your site that asks visitors to do something is considered call-to-action. For instance, this could be a button or something as simple as prominent text. CTAs are the main way in which you convey to your visitors what you actually want them to do.
Ensuring call to actions are clear and you’re guiding users to take a specific action leads to an increase in conversions.
Therefore, you absolutely must ensure that your CTAs work well and are present in adequate locations before launching your site.
16. Install A WordPress SEO Plugin
If you want people to find your site when browsing the internet, you need to optimize your site for search engines, or in other words, make it more Google-friendly.
To do so, ensure that all pages on your website have unique page titles as well as unique meta descriptions. All pages that are meant to rank organically should also be optimized around a specific keyword or several keywords.
As mentioned earlier, the only SEO plugin you need to optimize your WordPress websites is Rank Math.
17. Check Your Social Sharing Buttons Are Using The Right Accounts

Your social icons should be functional prior to launching your site. Make sure these icons link to the correct pages, that the necessary buttons are installed, and that visitors are able to share them.
The main things to check here are that social media share icons are associated with the correct accounts, and also functional on a range of browsers (depending on which ones you aim to support).
Thankfully, for websites powered by WordPress – this is something that can be done using the Novashare WordPress Social Sharing plugin…
18. Make a Terms and Conditions Page
The terms and conditions page may be seemingly unimportant and one of the easiest to overlook, but depending on the setup of your website – you may be legally required to have such a page.
This is especially the case if you’re running an eCommerce store or business website. Some also consider the presence of these pages to be one of many trust signals that Google uses when evaluating websites.
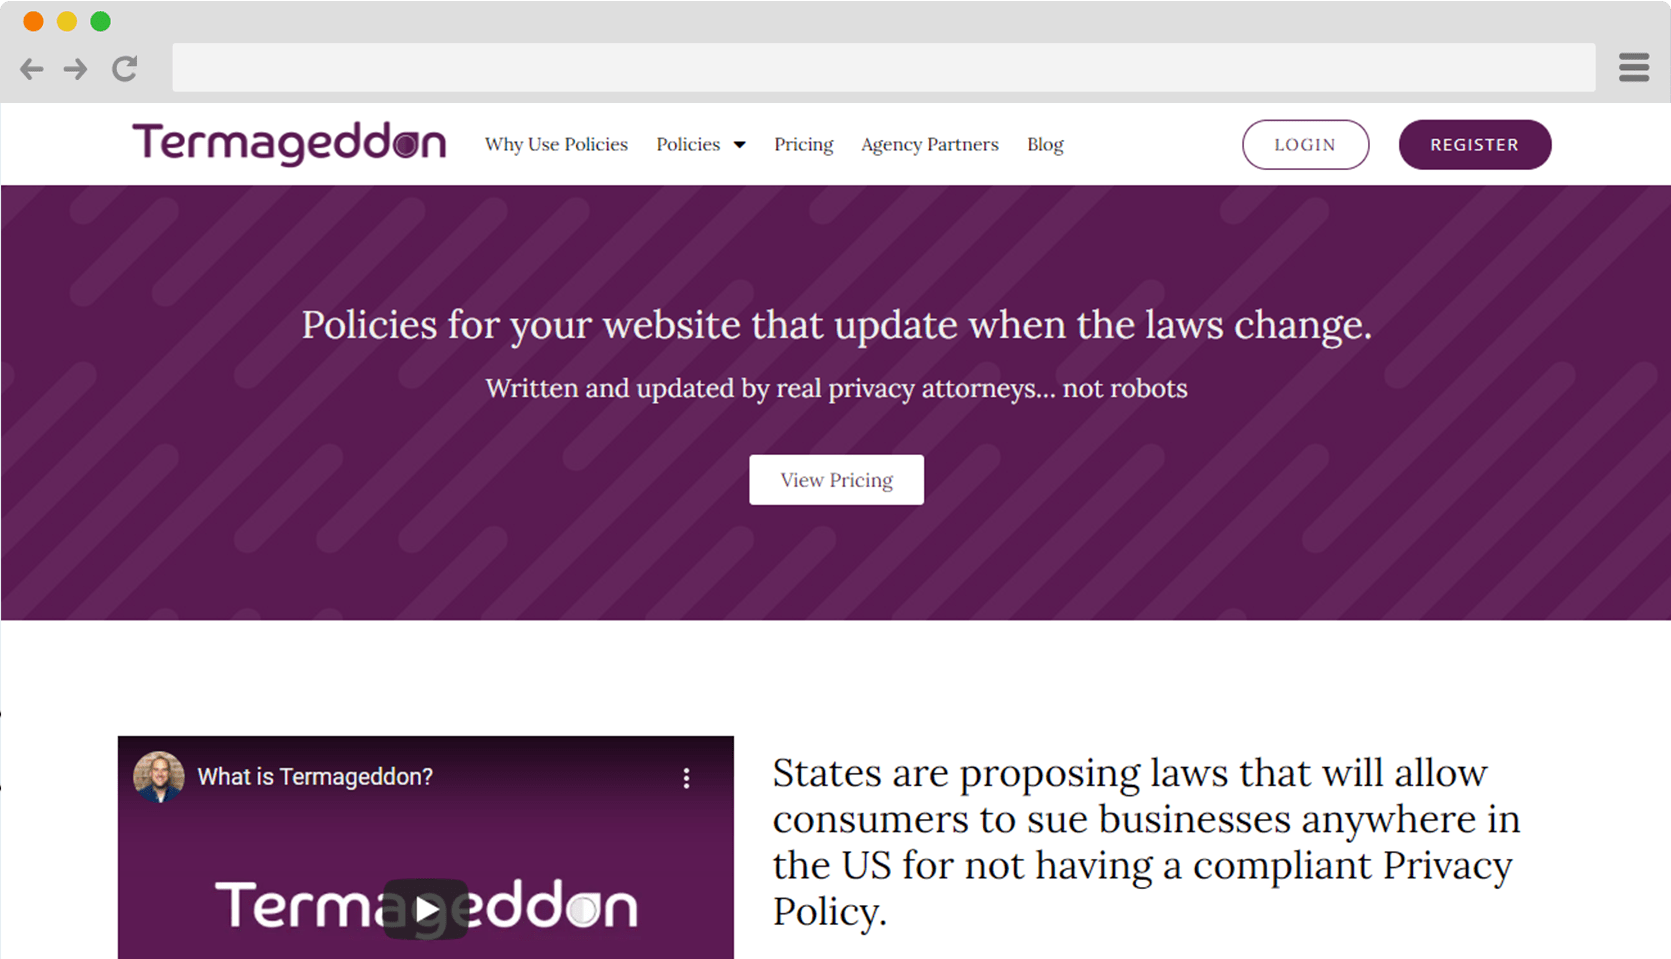
For this, since it is complicated – we advise looking into Termageddon which is a terms and conditions & privacy policy generator for websites and applications. It is however unique compared to other solutions as it automatically updates when the law changes keeping your company protected and, in turn, allowing you to focus on more important things.
Similarly, if your website gathers personal information from visitors, most jurisdictions require that you have a privacy policy page. This can be any type of personal information, such as email addresses, GPS location, or phone numbers.
The General Data Protection Regulation (GDPR) is a regulation on data protection and privacy in the EU and the EEA. GDPR compliance is legally required if you operate in the EU and collect user data. Furthermore, this regulation applies to any business, regardless of where it’s based, that is processing the personal data of individuals in the EEA.
Finally, not only is a privacy policy page required by law, but it is also required by many third-party services that you could be using. For instance, in its Terms and Conditions, Google Analytics states that if you are using their Analytics service, you must include a privacy policy page where you disclose your usage of Google Analytics and their cookies.
Fortunately, this is also something that Termageddon can help you handle. ?⚖️
19. Sort Out Any Navigation Issues
Having a good navigation structure on your site is essential. You don’t want users to find themselves wandering around and not knowing which button to click. If you wish to avoid losing visitors, make sure that navigation is simple and user-friendly.
Most importantly, you need to ensure that navigation works properly.
You can, for example, engage your friends to navigate your site and find the content they need so as to get critical feedback. You can also check out several online tools that can help out with improving navigation, such as OptimalSort.
Also, don’t forget to link your logo to your homepage.
20. Implement A Backup Solution You Can Rely On
From hackers to an innocent coding error, there are a number of things that can take your entire website offline.
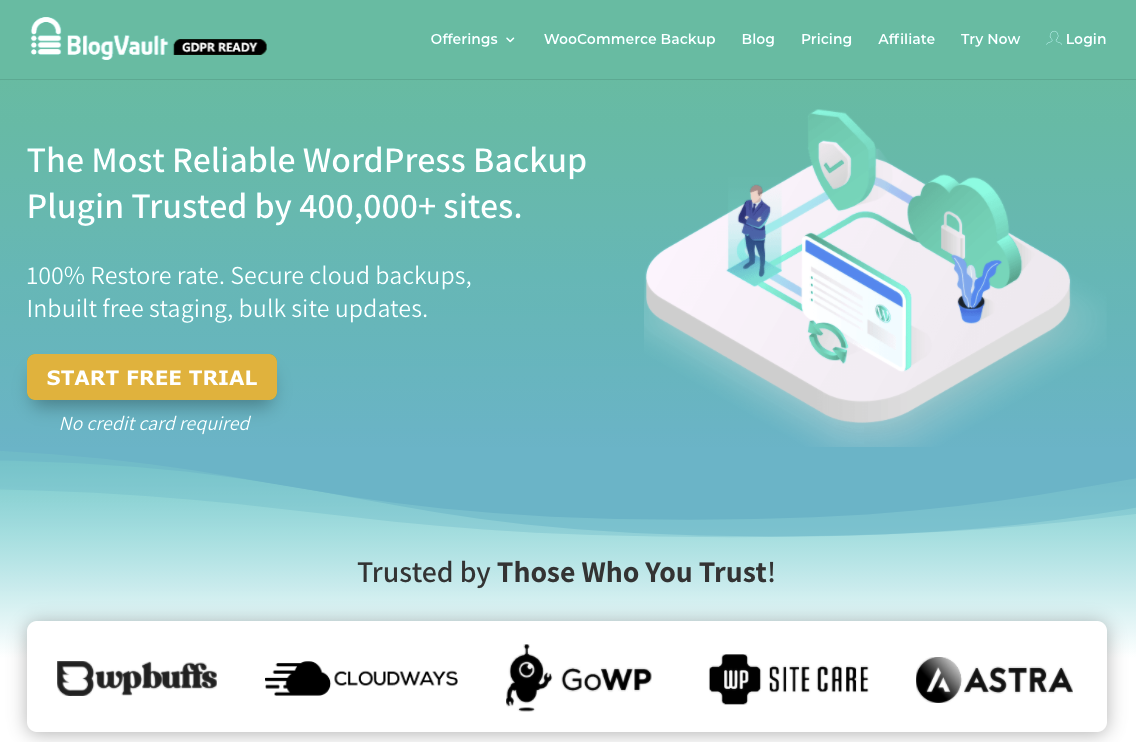
You deserve peace of mind, which is why you should always have a reliable WordPress backup solution like BlogVault in place so that if something ever goes wrong, you can easily restore your site.
And, thankfully with BlogVault, you can also take advantage of their 1-click staging functionality to test any changes before pushing them to production which significantly reduces the risk of even having to restore your live site.
21. Lock Down Your WordPress Website

Securing your website means reducing the risk of DDoS attacks or malware, so take website security seriously from the beginning.
There are various ways in which you could strengthen your website’s security.
For instance, you could consider limiting the number of login attempts users are able to make during a given period. This will minimize the risk of brute force attacks, i.e. attacks where a hacker is trying to guess the username and password over and over again until they discover the correct combination.
You can also think about whitelisting IP addresses. Basically, this means that your dashboard can be accessed only from specific IP addresses. As IP addresses are unique and can’t really be replicated, whitelisting provides an effective way of protection.
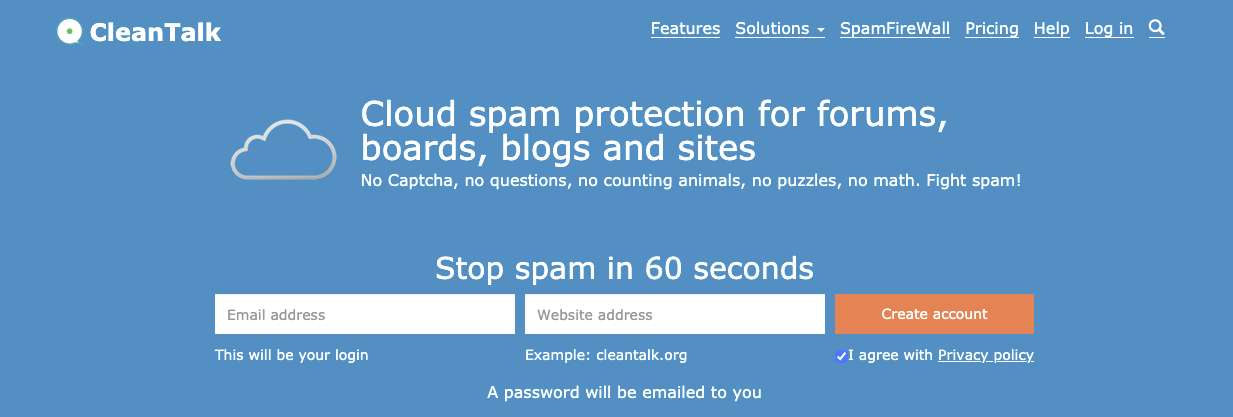
22. Keep Spam Away
The more popularity your website enjoys, the more spam it is likely to receive. This is why it’s wise to have anti-spam software in place. CleanTalk, Akismet, and Captcha are all good anti-spam solutions.
Not only does an anti-spam solution facilitate the management of comments, but it also adds to your website’s security.
What To Check Post-Launch
All right, now that you have launched the new website, all done! Time to celebrate! ?
Well…not so fast. You still have a few things to check post-launch if you want to ensure everything goes smoothly.
23. Test User Experience Again
Now that your site is officially live, it’s advisable to test it and see whether you’ll get the same results as you did before it went live.
So be on the lookout for any potential issues with browser compatibility, test whether the design is responsive across different devices and browsers, check if there is adequate validation of CSS/HTML, re-check whether external and internal links, as well as social share icons, function well, and so on.
24. Verify That Conversion Paths Work
Take some time to test whether the functionality of conversion paths is as good as it was pre-launch. Test the call-to-action buttons again and check whether the data is submitted well through the web forms.
25. Review Security and Backup Strategies
Now is the time to check whether your backup strategy is being implemented properly. See whether copies of the website are regularly being created. If you used plugins, make a plan for updating them.
In terms of your website’s security, if you’ve used any strategies such as limiting the number of login attempts users are able to make during a given period or whitelisting IP addresses, you may want to test if these are working properly and protecting your site.
26. Test Your Analytics Setup

After launching your website, you will likely want to know who visits it, what kind of browsers these visitors use, and other user-related data. This kind of information is crucial if you want to keep on improving your website so that the content is adjusted to the audience.
To achieve this, you may want to consider registering an account with Google Analytics. This is a web analytics service provided by Google that’s ranked as the most widely used web analytics service. There are also many Google Analytics alternatives you can go for instead.
Wrapping Up
Launching a new website can appear like a daunting task. However, if you follow the steps on this comprehensive checklist, you will find that the process is not so scary after all.
If you found this list helpful, feel free to check out the WP FeedBack blog for more detailed guides just like this one…
What are the steps you take before and after launching a website? Did we miss out on anything? Let us know in the comments below. ?


